Installing Road Safety Signage the Right Way
Read Time:4 Minute, 8 Second
Poorly installed signs can be as risky as missing signs. A sign that’s angled away from drivers, blocked by vegetation, set at the wrong height, or mounted on an unstable post can reduce reaction time and increase the chance of incidents, especially at night or in wet weather. Getting road safety signage installation right is about more than bolting a panel to a pole. It’s a process that balances visibility, durability, and compliance with local requirements and site conditions. For examples of common sign types used in Australian settings, see Road Safety Signage.
Start with a site assessment, not a catalogue
Before installation begins, assess the location in real conditions. Visit at the time of day the sign matters most, such as morning peak, dusk, or during planned works. Look for:
- Sight lines in both directions of travel
- Typical vehicle speeds and braking distances
- Existing sign clutter that could dilute attention
- Vegetation growth patterns, not just current trimming
- Drainage, soil stability, and potential erosion
- Lighting and glare (headlights, street lighting, low sun angles)
A quick assessment also helps decide whether a single sign is enough, or whether advance warning, repeat signage, or supplementary markings are needed to support driver comprehension.
Placement and visibility are where most installs fail
Placement is not just “near the hazard”. Signs should be positioned so drivers have time to perceive, process, and respond safely. In practice, that means thinking about approach speed, road geometry, and whether drivers have competing demands (intersections, merges, pedestrian activity).
Common visibility mistakes include:
- Installing behind trees, parked vehicle zones, or street furniture
- Positioning too close to curves where the sign appears late
- Mounting at heights that reduce readability for the typical eye line
- Installing multiple messages too close together
Aim for clear contrast with the background, avoid visual noise, and keep the sign face aligned to approaching traffic rather than angled toward the kerb.
Choose the right support system for the environment
The panel is only half the system. Posts, brackets, footings and fixings determine whether signage stays in place through wind, vibration, and minor impacts.
Key considerations include:
- Wind loading: Open corridors, coastal areas, and elevated sites need stronger support.
- Corrosion risk: Coastal and industrial zones may require higher-grade galvanising or specific fixings.
- Impact risk: High-traffic edges or work zones may call for breakaway systems or barrier protection.
- Ground conditions: Sandy or reactive soils can undermine footings if not designed appropriately.
Match the support system to the sign size and location. Oversized panels on light posts can twist over time, reducing retroreflective performance and legibility.
Foundations and fixings matter more than people think
Many premature failures come from foundations that are too shallow, poorly compacted, or not suited to the soil profile. Footings need to resist overturning and movement over the life of the installation.
Practical installation controls include:
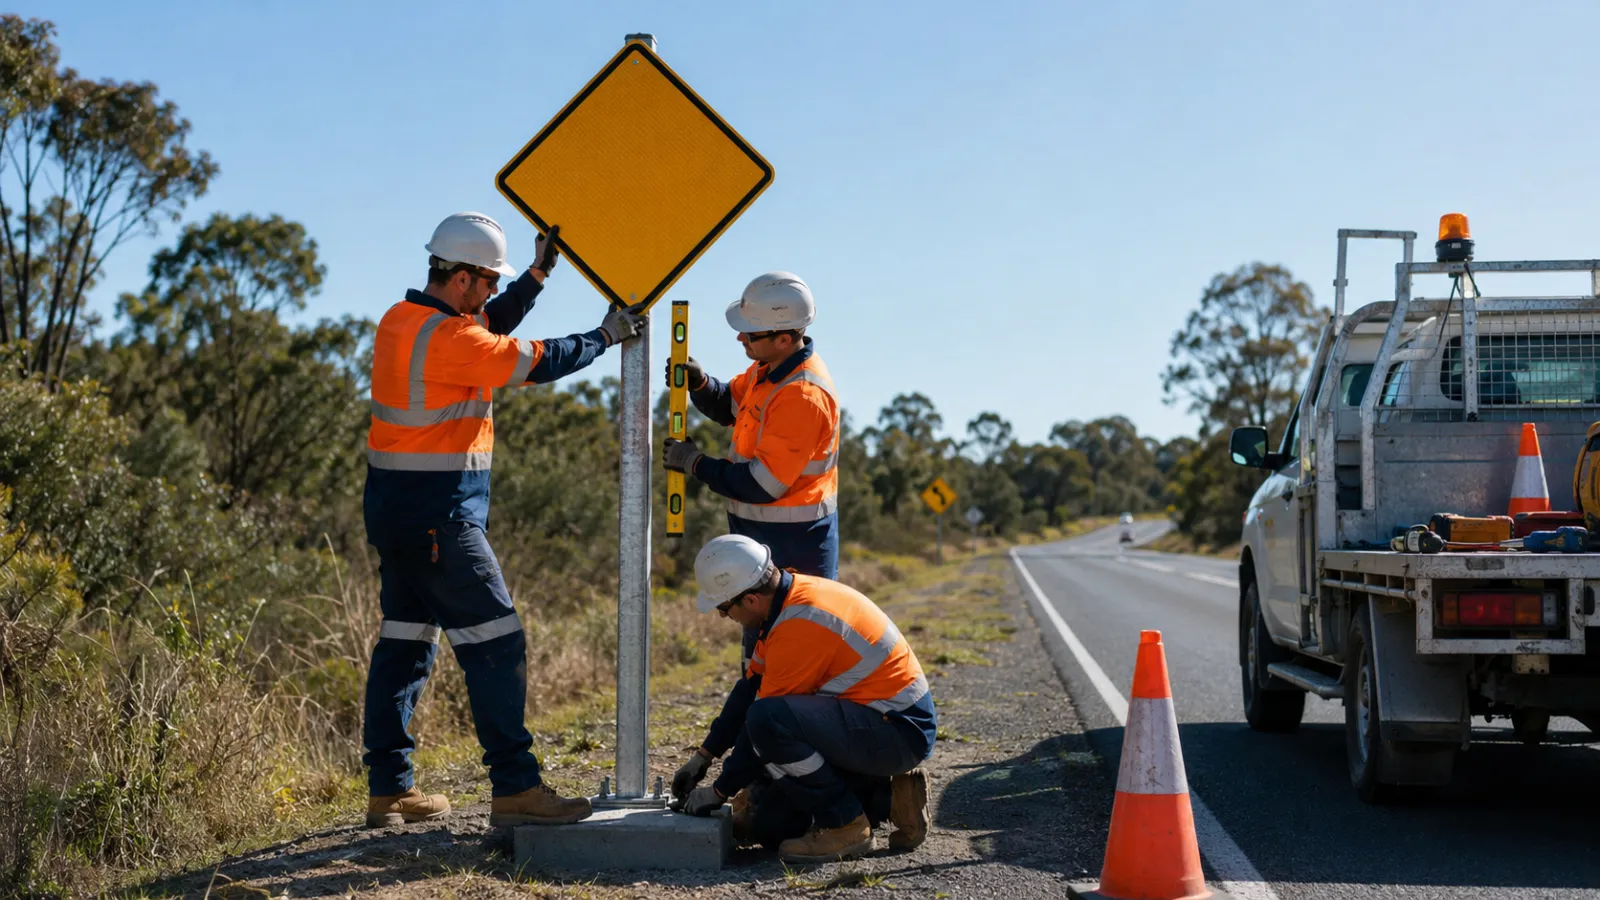
- Excavating to the correct depth and diameter for the post and site conditions
- Managing water in the hole and preventing washout during curing
- Ensuring the post is plumb and the sign face is level
- Using fixings that prevent loosening under vibration
- Applying torque settings where specified for clamps and brackets
Even small deviations can result in a sign that slowly rotates away from traffic or drops below the intended mounting height.
Retroreflectivity and night performance should be checked on-site
A sign can look fine in daylight and perform poorly at night. Retroreflective sheeting type, sign angle, and local lighting conditions all influence legibility. After installation:
- Conduct a simple night-time check from typical approach distances
- Look for glare, washout, or poor contrast
- Confirm that headlights illuminate the sign face as intended
- Verify that the sign is not shadowed by vegetation or street furniture
Where the site is known for rain, fog, or dust, consider how these conditions affect visibility and whether additional measures are needed.
Installation in work zones needs extra discipline
Temporary traffic management and work-zone signs often need frequent changes. That increases the chance of rushed installs and inconsistent placement. For worksites:
- Standardise sign locations using a repeatable layout plan
- Use stable, rated bases suitable for the environment
- Ensure spacing allows drivers to read and respond without overload
- Maintain clear pedestrian paths and avoid creating trip hazards
- Re-check alignment after weather events or site changes
A strong routine, including a daily quick check, prevents small misalignments becoming safety issues.
Inspection and maintenance keep the install effective
Installation is the beginning of a sign’s performance, not the end. Set an inspection schedule aligned to risk, traffic volume, and environmental exposure. Maintenance tasks commonly include:
- Clearing vegetation and cleaning dust buildup
- Tightening fixings and correcting sign rotation
- Replacing damaged brackets, posts, or panels
- Monitoring reflectivity decline over time
- Updating signage when road layouts or rules change
The goal is simple: the sign must remain readable, stable, and credible to drivers. A well-installed sign that is maintained consistently reduces confusion and supports safer decisions at the point it matters.

Happy
0 %

Sad
0 %

Excited
0 %

Sleepy
0 %

Angry
0 %

Surprise
0 %
 0
0
 0
0