The End-of-Lease Cleaning Checklist That Actually Gets Results
Read Time:3 Minute, 59 Second
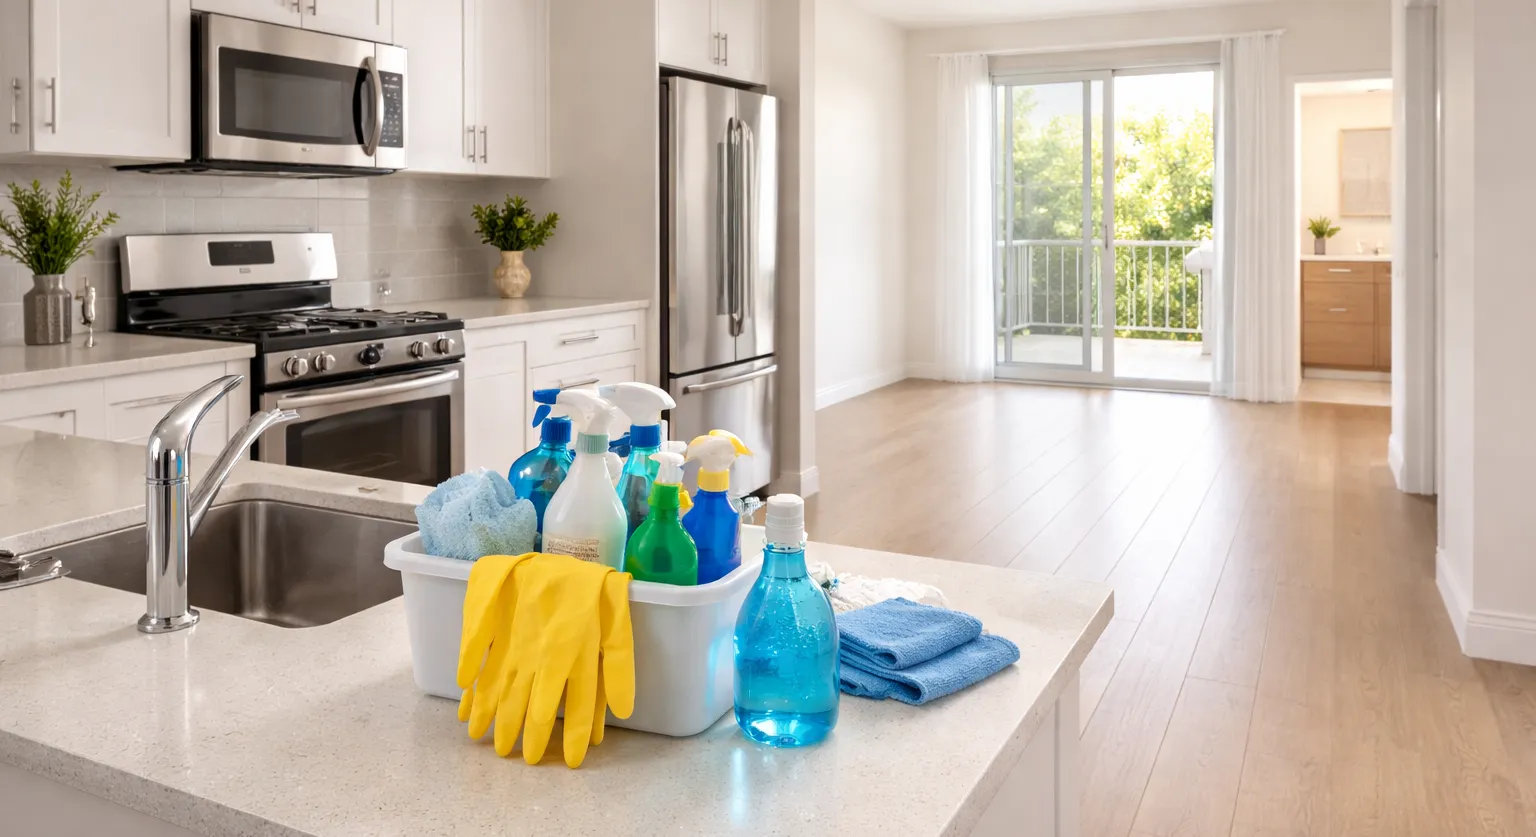
End-of-lease cleaning is less about making a place look “pretty” and more about meeting an inspection standard. That standard is usually unforgiving in the same predictable areas: grease, grime lines, dust build-up, and anything that looks like it was skipped. The easiest way to get consistent results is to clean in a sequence that prevents re-dirtying rooms you’ve already finished.
If the scope feels bigger than your available time, expert vacate cleaning perth is a common way renters cover the detail work that tends to trigger re-clean requests, especially in kitchens and bathrooms.
Before You Start: Set Yourself Up for a Clean Finish
Do these first, or you’ll waste time doubling back:
- Remove all belongings, rubbish, and food from cupboards and the fridge.
- Patch obvious wall scuffs where possible and let areas dry.
- Open windows for ventilation and turn on exhaust fans.
- Work top-to-bottom in each room so dust falls onto areas you haven’t finished yet.
A helpful rule: don’t do floors until the very end, except a quick vacuum to remove loose debris.
Whole-Home “Inspection Points” People Commonly Miss
These details are where many vacate cleans fall short:
- Light switches, power points, and door handles
- Skirting boards and top edges of doors
- Window sills, tracks, and frames
- Cobweb corners, vents, and fan covers
- Wardrobe shelves, rails, and inside drawers
- Marks on walls around high-touch areas (hallways, doorways)
If you only have time to be “extra thorough” in a few places, make it these.
Kitchen Checklist: Where Bonds Are Won or Lost
Kitchen inspections often focus on grease and residue, especially near cooking areas.
Priorities:
- Oven and stovetop: degrease racks, trays, door glass, knobs, and the surrounding cabinetry edges.
- Rangehood: clean the exterior and the filters (soak if needed), plus the splashback.
- Cupboards and drawers: wipe inside, outside, handles, and the top edges where dust collects.
- Sink and taps: remove water marks around the base and polish the tapware.
- Fridge space: wipe inside cupboards, shelves, and the floor area where the fridge sits.
Don’t forget: the gap between the stove and bench, and the kickboards along the bottom of cabinets.
Bathroom Checklist: Grout, Glass, and Build-Up
Bathrooms are judged harshly because scale and mildew read as “unclean,” even if the room is tidy.
Focus areas:
- Shower: glass, tracks, screen hinges, tiles, grout lines, and the drain cover.
- Toilet: behind the bowl, around the base, seat hinges, and nearby wall splashes.
- Vanity: inside drawers, underside of the sink lip, tap base, and splashback.
- Mirrors and chrome: polish to remove streaks.
- Exhaust fan: clean the cover so dust doesn’t fall later onto fresh surfaces.
If the limescale is stubborn, give your product time to work rather than scrubbing immediately.
Bedrooms and Living Areas: Dust Patterns and “Edge Work”
These rooms often look clean quickly, but inspections catch the edges:
- Skirting boards and corners
- Window tracks and sills
- Built-in wardrobes (shelves, rails, door runners)
- Ceiling fans (tops of blades)
- Marks around doors, handles, and walls near switches
If there are blinds, dust them properly. If there are curtains, check for visible marks or dust at the hems.
Laundry Checklist: Small Room, High Scrutiny
Laundry areas often fail on residue and hidden lint:
- Clean the sink and tapware, including the drain and around the base
- Wipe cupboard interiors and shelves
- Remove lint and dust from corners and behind appliances
- Check any splashback, tiles, and skirting
If there’s a dryer wall vent or filter area, clear it.
Windows and Screens: The “Looks Clean” Test
You don’t always need perfect external window cleaning, but you do need obvious internal areas done well:
- Interior glass (no streaks)
- Frames and sills
- Tracks (vacuum then wipe)
- Flyscreens (dust and wipe as needed)
Tracks are where inspections often linger, because they signal whether the cleaner was thorough.
Floors Last: The Final Pass That Ties It Together
Once all dusting and wiping is complete:
- Vacuum thoroughly, including edges and under where furniture used to be
- Mop hard floors and let them dry completely
- Spot-clean corners where mop water tends to pool
- Do a final walk-through with lights on to catch streaks and missed dust
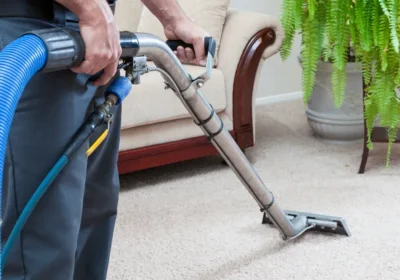
If carpets are required to be steam-cleaned by your lease, schedule it so carpets dry before key return.
A Quick “Final Walk-Through” Method
Use this simple loop:
- Stand in each doorway and scan top-to-bottom.
- Check one window track per room as a quality indicator.
- Open one cupboard and one drawer per area.
- Turn taps on and off to check for visible water marks and splash residue.
- Look behind the toilet and along kitchen kickboards.
This takes ten minutes and catches most of the mistakes that lead to re-cleans.

Happy
0 %

Sad
0 %

Excited
0 %

Sleepy
0 %

Angry
0 %

Surprise
0 %
 0
0
 0
0