The Renovation Order That Prevents Rework: A Step-by-Step Bathroom Planning Guide
Read Time:5 Minute, 30 Second
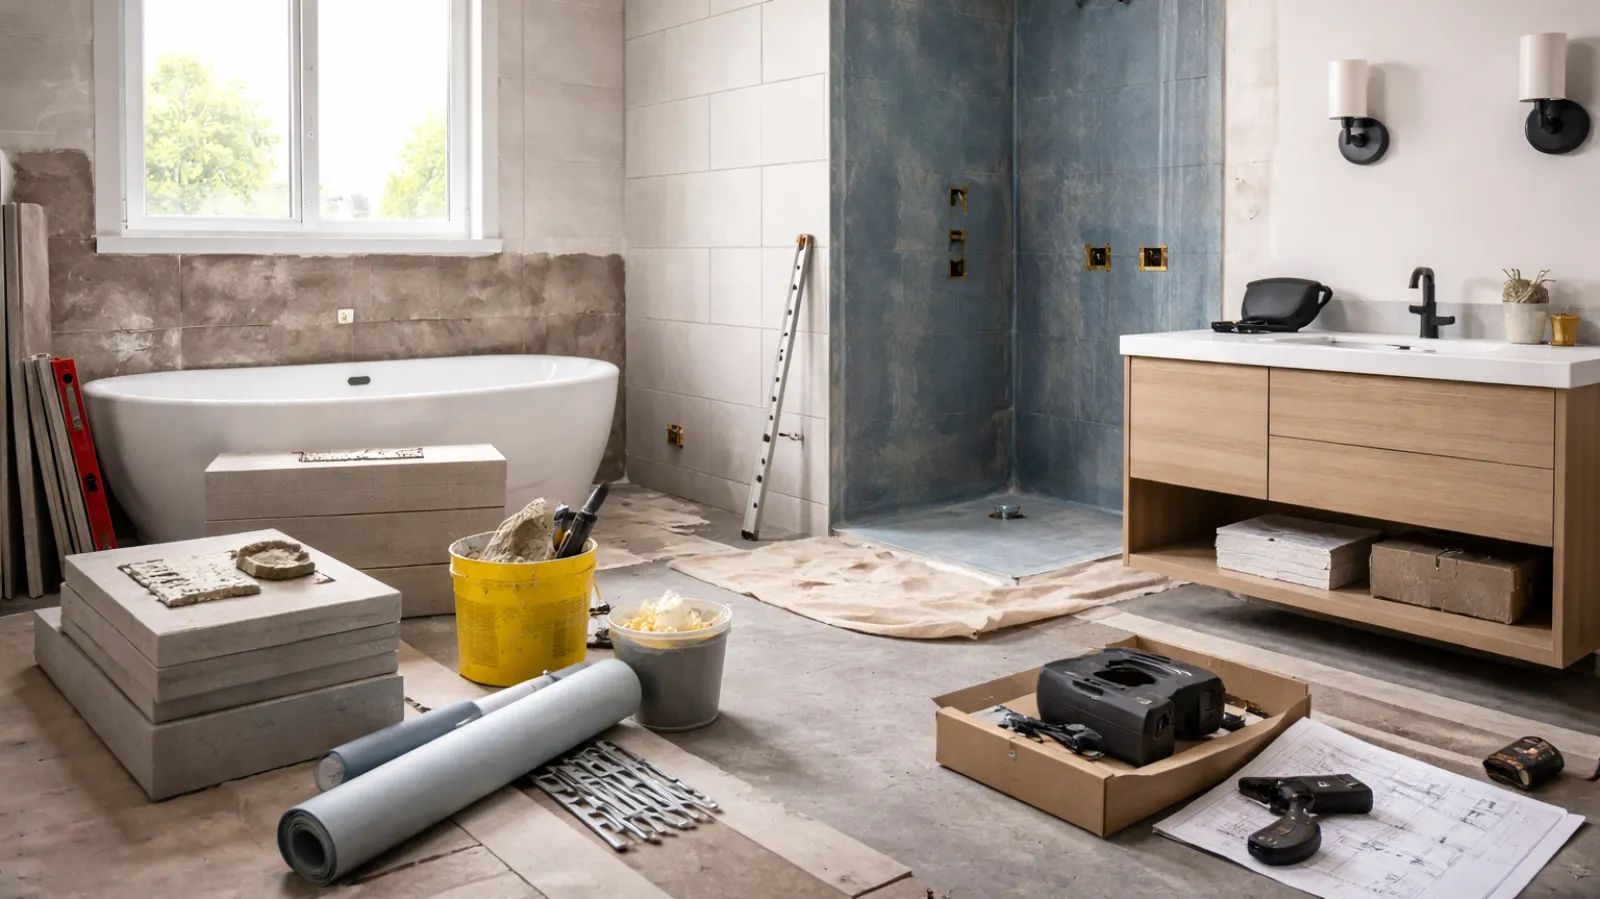
Bathroom renovations can feel deceptively simple. The room is small, the fixtures are familiar, and the finishes look like the main event. In reality, most budget blowouts and frustrating delays come from doing things in the wrong order, then paying to undo and redo work. If you’re researching bathroom renovations Melbourne, the smartest first step is understanding the sequence that trades follow, why each stage depends on the one before it, and where decisions need to be locked in early.
A clear renovation order keeps the project compliant, protects waterproofing integrity, and prevents expensive “while we’re here” changes that ripple through the rest of the build.
1) Start with the layout and constraints, not the tiles
Before you fall in love with a tile range or a vanity profile, confirm what you can realistically change.
- Plumbing locations: Moving a toilet, shower waste, or vanity can be possible, but it affects the slab or subfloor, framing, and cost.
- Door swings and clearances: Doors, shower screens, and cabinetry need space to open without collisions.
- Ventilation and natural light: Your layout needs to support airflow and reduce moisture.
- Structural limitations: Older homes may hide uneven walls, sagging floors, or non-standard stud spacing.
The purpose of this stage is to establish a functional plan that won’t later force you to “make it work” after demolition begins.
2) Lock in the scope, budget, and allowances early
Rework often starts with vague allowances like “mid-range tapware” or “standard tiles”. Those placeholders become problems when fixtures are chosen late and don’t fit.
At this stage, document:
- What is staying (for example, toilet position or window)
- What is changing (shower size, bath inclusion, wall-hung vanity)
- Your budget split between labour, fixtures, waterproofing, tiling, and contingencies
- Lead times for key items (vanities, screens, specialty tiles, heated rails)
A practical approach is to allocate a contingency even for well-planned jobs. Bathrooms reveal surprises once walls come off, especially in older properties.
3) Confirm compliance and approvals before work starts
Many renovation headaches are compliance-related: unplanned electrical changes, insufficient ventilation, or waterproofing details that don’t meet expectations.
Consider:
- Waterproofing requirements: Wet area membranes and detailing must be done correctly.
- Electrical safety: Bathroom electrical work must be completed by licensed electricians.
- Plumbing compliance: Licensed plumbing is required for a range of works and is not a “later” decision.
- Strata or body corporate approvals: If you’re in an apartment or townhouse complex, noise hours, waterproofing requirements, and access rules can change the project timeline.
Sorting these early prevents mid-project stoppages and redo work caused by late discoveries.
4) Finalise selections that affect rough-in
Some choices look like aesthetic decisions but directly affect what happens behind the walls. Make these calls before demolition or immediately after, not after tiling.
Key items to confirm:
- Shower type (standard mixer, rail set, overhead, concealed)
- Vanity dimensions and plumbing position
- Toilet type (close-coupled, back-to-wall, in-wall cistern)
- Bath selection and placement
- Niche locations and sizes
- Floor wastes and falls strategy
- Lighting plan and power points, including heated towel rails or underfloor heating
When fixtures are confirmed early, trades can rough-in accurately. When they’re confirmed late, you risk relocating plumbing or opening walls after sheeting.
5) Demolition and inspection, then fix what you can’t see
Demolition is not just “rip it out”. It’s your chance to inspect framing, subfloors, and services. This is where hidden issues should be addressed, not covered.
After the room is stripped back, check for:
- Water damage around the shower and bath
- Termite damage or rot in timber framing
- Uneven floors or out-of-plumb walls
- Old pipes or wiring that should be upgraded
If repairs are needed, do them now. Patching later, once waterproofing and tiling are underway, is where rework becomes expensive.
6) Rough-in services before walls are closed
Rough-in is the behind the scenes stage that determines whether your finished bathroom functions properly.
Typical sequence:
- Plumbing rough-in (water lines, wastes, in-wall cistern frames)
- Electrical rough-in (lighting circuits, exhaust fan, GPOs)
- Framing adjustments (niches, reinforcement for wall-hung vanities, grab rails if required)
- Ventilation ducting and fan placement
Only once rough-ins are confirmed should walls be re-sheeted. If you close walls too early and then decide you want a different shower set or vanity, you’re back to cutting and patching.
7) Sheeting, waterproofing, and curing time are non-negotiable
Waterproofing is where “shortcuts” come back years later as leaks and mould. It also has a correct order and timing.
The typical flow is:
- Install wet area sheeting and prepare surfaces
- Apply waterproofing membrane with correct detailing at corners, junctions, and penetrations
- Allow adequate curing time before tiling
Rushing this stage is a common cause of rework. Once tiles are on, failures are harder to fix without pulling finishes off.
8) Tiling, then fit-off in the right order
Tiling comes after waterproofing is complete and cured. It’s also the stage where falls, waste placement, and set-out lines matter.
After tiling and grouting:
- Install cabinetry and vanities
- Fit off plumbing fixtures (taps, shower heads, toilet, bath hardware)
- Fit off electrical (lights, fan, power points, heated towel rails)
- Install shower screens and mirrors
- Complete sealing and final detailing
Leaving fit-off until the appropriate stage protects finishes and avoids damage from trades working over completed surfaces.
9) Plan the handover checklist before the last day
A bathroom can look finished while still missing small items that affect longevity. Use a handover checklist to confirm the details that prevent call-backs.
Include checks for:
- Smooth drainage and correct falls in the shower
- No movement in cabinetry or rattling fittings
- Exhaust fan performance and airflow direction
- Even grout lines and properly sealed junctions
- Consistent water temperature and good pressure balance
- Door clearances and shower screen alignment
This final review is where you catch issues while trades are still on-site, rather than weeks later when rework becomes harder to schedule.
A simple way to keep the order on track
If you want a renovation that avoids rework, treat decisions like a chain: layout enables rough-in, rough-in enables sheeting, sheeting enables waterproofing, waterproofing enables tiling, and tiling enables fit-off. Breaking the chain is what creates costly backtracking.
A practical approach is to keep a one-page “locked decisions” list covering layout, fixture specs, and service locations. When everyone is working from the same plan, the renovation runs in a predictable sequence and the finished bathroom is less likely to hide problems behind the walls.
Happy
0 %
Sad
0 %
Excited
0 %
Sleepy
0 %
Angry
0 %
Surprise
0 %


